Templates are here!
Ludus just entered a new era.


Templates were definitely ranked #1 in our most-requested features, far ahead of #2. Yet, it took a while to appear, and it was never our desire to rush this important feature, because we really wanted to make it right. After a few weeks in beta testing with some of our power users, we’re proud to finally make templates generally available, and we hope you’ll enjoy them!
Using templates
So how do templates work within Ludus? Let’s start to see how you can use existing templates.
From now on, when you create a new presentation from the dashboard, you can choose to start from a blank slide or start from an existing theme. A theme is simply a collection of templates. It shouldn’t sound too odd if you’re used to PowerPoint or Keynote.
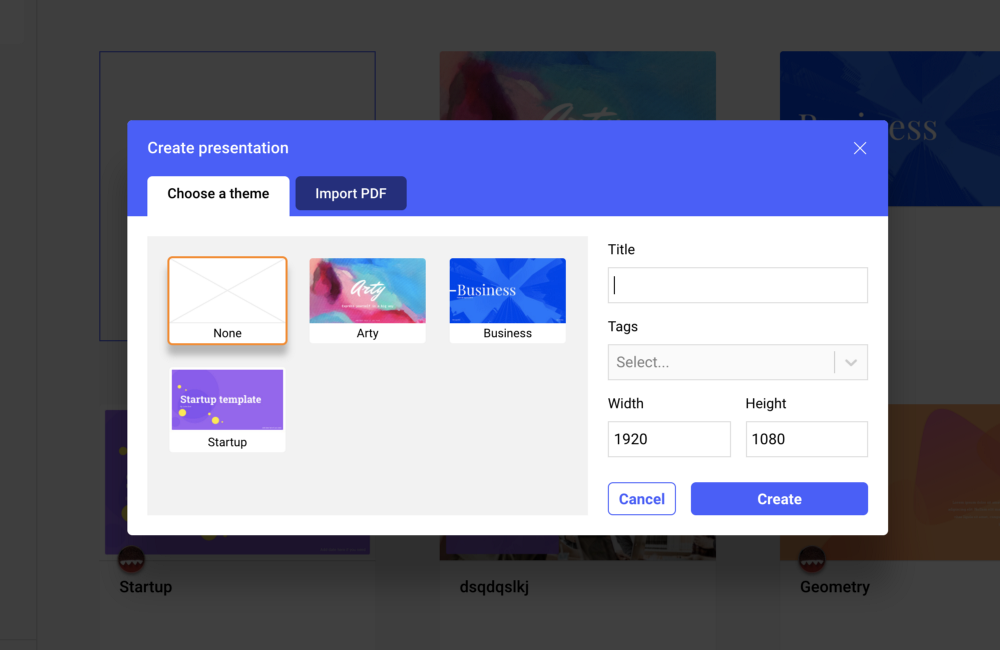
We have two types of themes: public themes (those created by the Ludus team and that are available to everyone) and private themes (those you created for yourself or for your team — more on this later).
We provide three public themes for now (Arty, Business, and Startup) and we plan to release a new one very regularly.
From the editor, there are two ways to apply a template to a slide. The first is by clicking on the “Apply template” button in the slide controls (located in the right column). This will show an overlay — that we call the “theme manager” — where you can select a template from your list of themes (“None” containing all uncategorized templates). Each template has a name that can be standard (like “Title with picture”, “Photo gallery”, “Big number”, etc.) or custom.
The other way to apply a template to a slide is simply by adding a new slide, either with the [+] button located in the slide manager or with the [+] button located in the top bar. The theme manager described in the previous paragraph will appear when you click on these buttons. Just do Alt+click if you want to skip the template selection and directly create a blank slide.
One important thing to understand is that, unlike other presentation softwares, you can have templates from different themes in your presentation. This is a choice we made to offer more flexibility. We’re confident it can open use cases we’re still not aware of, and this is a good thing. Nevertheless, if you absolutely want your presentation to have templates belonging to one and only one theme, look for the “Apply to all slides” button in the theme manager. It will turn all your slides using a template to the theme chosen, by matching their names.
Creating templates
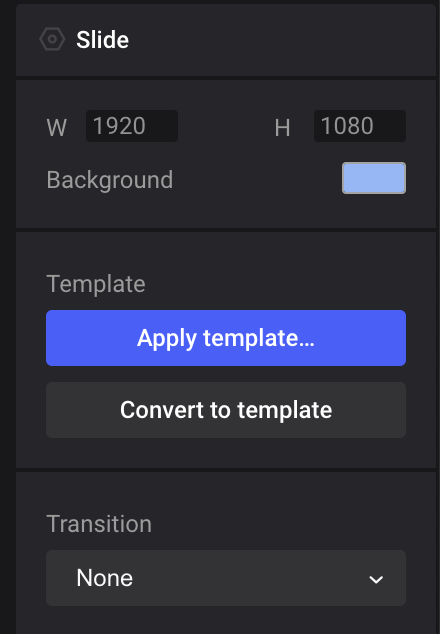
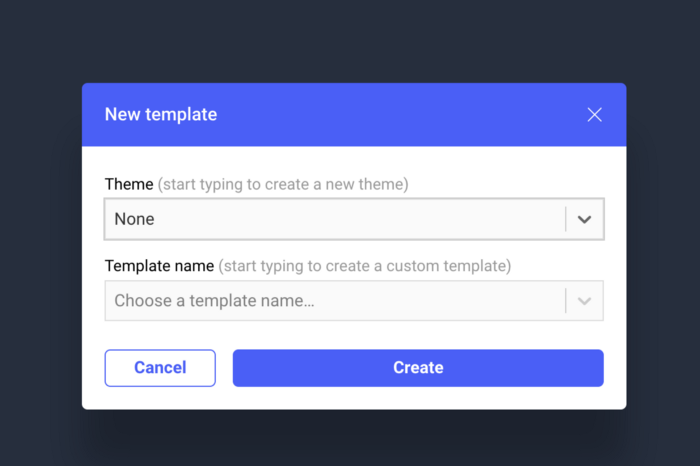
Creating a template is very simple. When on a slide, look for the “Convert to template” button in the right column. After clicking on it, you’ll be asked to choose which theme you want to create this template in. You can choose “None” (if you don’t want to place your template in a theme) or one of your existing template; or type something of your choice to create a new theme. You’ll also be asked to choose the template name and it can either be a standard name or a custom one.
After you chose a theme and picked a template name, you’ll enter the template editing mode. It’s basically like editing a slide with the only difference being that objects all have an “Editable in template” property. Only objects that have this checkbox checked will be editable in slides using that template, all others being locked and not unlockable. This way, it’s very difficult to mess up with the slide layout as only the content can be modified.
Try to be thorough when picking the object reference after having checked the “Editable in template” property, as this reference is used to match objects when switching to another template. For example, let’s say you have a template A and a template B that both have a text object with “title_1” as a reference. If you apply template A to a slide, change the title to “Hello World” and then switch to template B, the title “Hello World” will be preserved.
After applying a template to a slide, the buttons “Apply template” and “Convert to template” will be replaced by four new buttons:
- A blue button with the name of the chosen template. Clicking on it will open the theme manager and allow you to choose another template for the current slide.
- “Edit” allows you to modify the current template. You can also do it by double-clicking on a slide using a template. Note that you can only edit your own templates for now.
- As its name implies, “Reapply” will reapply the chosen template to the current slide. For example, it means that if you moved editable objects around, they will go back to their initial position. This button can also show “Update” as a label if the template has been edited since the last time you applied it to the current slide. In that case, clicking on the button will simply apply the latest version of the template to the slide.
- “Unlink” will remove the template from the slide, but it will keep all the objects it contains. Even though it will not change the look of your slide, unlinking means that all the objects become editable and all their references are gone.
Note that a few of these options are also available inside the context menu that appears when you right-click on a slide.

Sync templates
The real cool thing to understand is that each template is synced across all your presentations. It means that when you update a template used in several presentation, it can be synced if you need to (so we don’t force the update). For big teams, it helps to keep all your presentation visually aligned.
It’s up to the presentation owner to decide when to sync their slide to the latest version of the current template. Whatever happens and if the result is not that great, you can still undo it and keep your previous template version.
What’s next?
This is our v1 of the templates. We believe that it’s already much more powerful and flexible than what you can find elsewhere, but we don’t plan to stop here.
We’ll soon publish a few advanced articles and tutorial including one explaining how templates and Smart Blocks can be combined together to get great results. Also, we plan to make possible to edit public themes, so you won’t have to start from scratch if you want something more personalized for your brand. But the important news here is that at some point during next year, we will allow you to submit your creations to some kind of theme store, and you’ll be able make money out of that!
In the meantime, enjoy this first version of the templates and as usual, don’t hesitate to come back to us for any question or feedback!